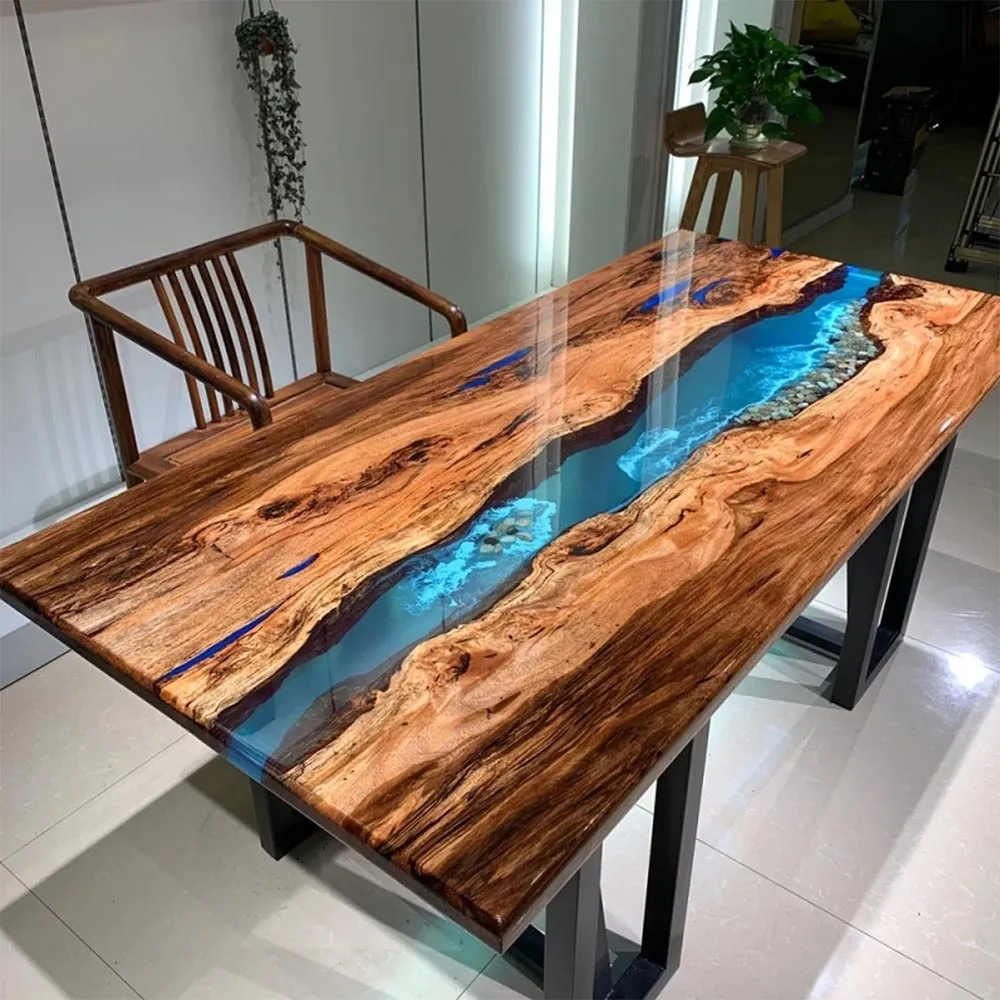
Here’s a basic guide to help you get started:
Materials:
Epoxy resin kit
Everyglow photoluminescent pigment
Mixing cups and stir sticks
Silicone mold or surface for the artwork
Heat gun or torch (for removing air bubbles)
Disposable gloves and protective gear
Steps:
Prepare Your Workspace: Ensure you are in a well-ventilated area and have a clean, level workspace. Wear protective gear, including gloves and a mask if necessary.
Mix Epoxy Resin: Follow the instructions on your epoxy resin kit to measure and mix the resin and hardener in the specified ratio. Thoroughly stir the mixture to avoid any lumps.
Add Everyglow Photoluminescent Pigment: Gradually add the Everyglow photoluminescent pigment to the resin mixture. The amount will depend on your desired glow intensity. Start with a small amount and adjust as needed, stirring well to evenly distribute the pigment.
Pour the Resin:Pour the pigmented resin into your chosen mold or onto the surface where you want to create your epoxy art. Ensure that the surface is level to prevent uneven curing.Remove Air Bubbles:Use a heat gun or torch to carefully pass over the surface of the resin to remove any air bubbles. Be cautious not to overheat or scorch the resin.Allow Curing:Let the resin cure according to the instructions provided with your epoxy kit. This typically takes 24-48 hours, but curing times can vary.
Charge the Glow:Once the resin is fully cured, expose the artwork to a light source for a sufficient period to charge the Everyglow pigment. Natural sunlight or a UV light works well for this step.
Test the Glow:Turn off the lights to see the glow effect. The Everyglow photoluminescent pigment should emit a soft, glowing light in the dark.Experiment with different colors, layering techniques, or molds to create unique and personalized glow-in-the-dark epoxy resin art. Always follow safety guidelines provided by the resin and pigment manufacturers

