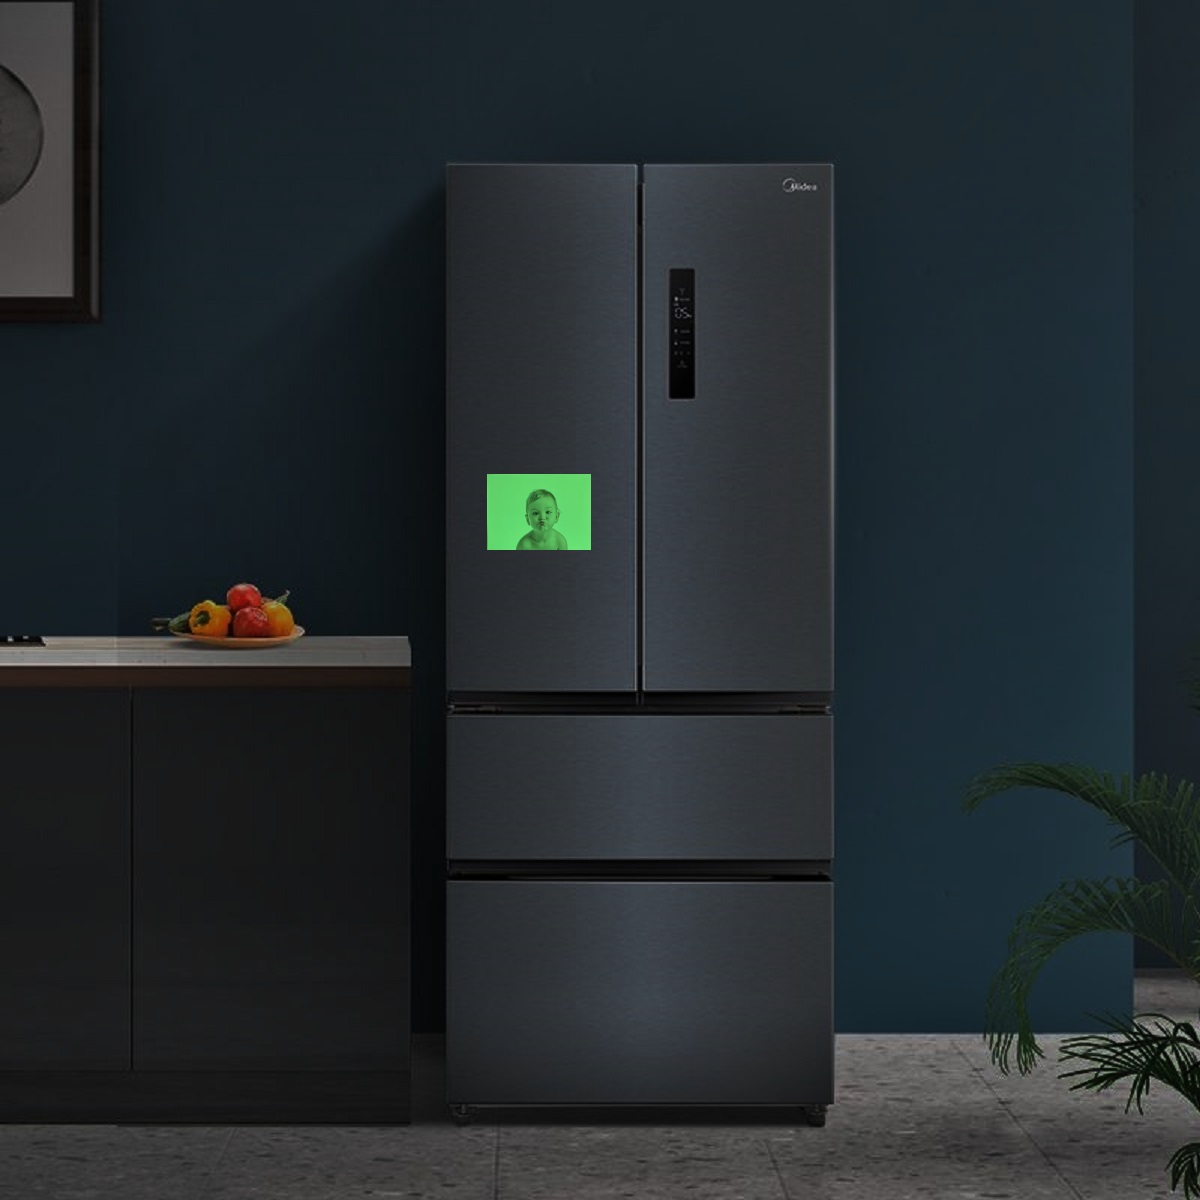
- Gather Materials:
- Everyglow Glow in the Dark photo paper
- Scissors or a craft knife
- Fridge magnet backing or adhesive magnetic sheets
- Images or designs for your magnets
- Design Your Magnets:
- Create or choose images that you want to turn into magnets. Ensure they fit the size of your Everyglow Glow in the Dark photo paper.
- Print the Images:
- Print your designs onto the Everyglow Glow in the Dark photo paper using a compatible printer. Follow the paper’s instructions for optimal printing settings.
- Cut Out the Magnets:
- Use scissors or a craft knife to carefully cut out each printed design. Be precise to maintain the shape of your magnets.
- Attach to Magnetic Backing:
- If you’re using individual magnet backings, apply adhesive to the back of each cutout and press it onto the magnetic backing. If you have adhesive magnetic sheets, simply attach the entire printed sheet to the magnetic side.
- Allow for Drying:
- If any adhesive is used, allow the magnets to dry thoroughly according to the adhesive’s instructions.
- Charge in Light:
- Place the magnets under a light source for a sufficient amount of time to charge the glow-in-the-dark effect. This step is crucial for the Everyglow material to absorb light energy.
- Test and Enjoy:
- Once charged, turn off the lights to see the glow effect. Test the magnets on your fridge and enjoy your personalized glow-in-the-dark magnets.
Remember to follow the specific instructions provided by Everyglow for their Glow in the Dark photo paper, as different brands may have slightly different requirements for optimal results.

